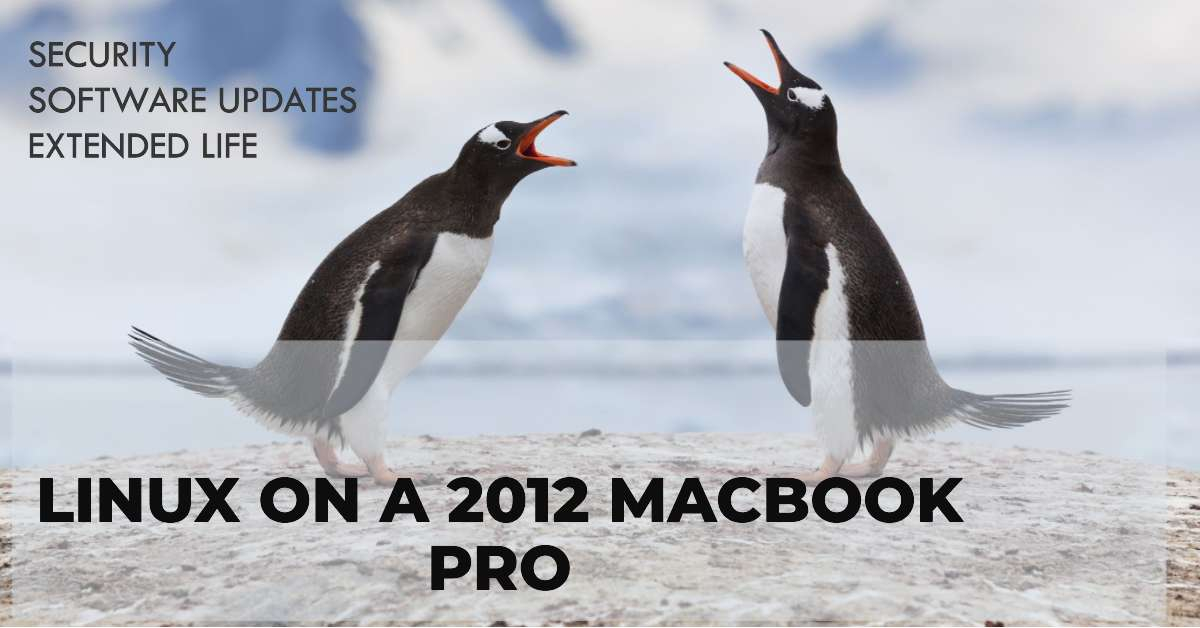
Learn how to upgrade SSD and install Debian 12 on MacBook Pro (Retina, late 2012 laptop) in this blog post. It begins by listing the prerequisites, such as specific types of screwdrivers, a new M.2 SATA SSD, and a USB flash drive. The post then delves into detailed steps for both SSD replacement and Debian Linux installation. The post is part of a series focused on computer upgrades.
In this short post, I will discuss two major upgrades to a MacBook Pro Retina late 2012 model. This is a great way to revive an ageing computer, and getting some more life out of a 11 year old laptop.
हिंदी में सारांश
इस ब्लॉग पोस्ट में मैकबुक प्रो रेटिना लेट 2012 मॉडल में एसएसडी अपग्रेड और डेबियन लिनक्स 12 इंस्टॉल करने का विस्तृत मार्गदर्शन दिया गया है। पोस्ट में स्पेशिफिक टाइप के स्क्रूड्राइवर, नया M.2 SATA SSD और USB फ्लैश ड्राइव जैसी आवश्यकताएं सूचीबद्ध की गई हैं। इसके बाद, एसएसडी रिप्लेसमेंट और डेबियन लिनक्स इंस्टॉलेशन के विस्तृत कदम दिए गए हैं। यहां पर पाठकों को चेतावनी दी गई है कि वे इसे करते समय इंटरनल कॉम्पोनेंट्स से सावधानी बरतें।
Part 1: Upgrading the SSD Drive
Prerequisites
A new SSD drive compatible with your MacBook Pro Retina Late 2012. This model uses a M.2 SATA SSD, and you will need s special adapter to install the new SSD drive.
A Torx T6 screwdriver. This is required to remove the retaining post from the original SSD.
A Phillips # 00 screwdriver. This is needed to remove the screws holding the back cover of your MacBook Pro.
An external USB hard drive enclosure (optional). This is useful if you want to clone your existing drive to the new SSD.
Steps to install new SSD
Backup Your Data: Before you start, ensure you have a backup of all important data on your MacBook. You can use Time Machine, which is built into your Mac, to backup all your files, or manually copy files to an external drive.
Shutdown Your MacBook: Ensure your MacBook is completely turned off, not just in sleep mode. Unplug the power adapter and any other cables connected to the MacBook.
Remove the Bottom Case: Flip your MacBook upside down. Using the Phillips # 00 screwdriver, remove the ten screws securing the bottom case. Remember the three screws at the top are longer than the others, so keep track of where each screw comes from. Then gently lift and remove the bottom case.
Disconnect the Battery: Many guides and tutorials do not mention this important step.
Remove the Original SSD: Locate the SSD (it’s near the center). Remove the single screw holding it in place using the Torx T6 screwdriver. Gently pull the original SSD out of its socket.
Install the New SSD: Insert the new SSD and the adapter into the socket, ensuring it’s fully inserted. Secure it with the screw you removed earlier.
Reconnect the Battery
Replace the Bottom Case: Place the bottom case back on and secure it with the ten screws. Remember to put the longer screws in the correct holes.
Part 2: Installing Debian Linux 12 on MacBook Pro Late 2012
Prerequisites
A USB flash drive with at least 8GB of storage. This will be used to create a bootable USB drive for the Debian Linux 12 installation. Also, you will need access to a working computer to download the Debian Linux 12 ISO file.
Steps
- Download Debian Linux 12 ISO File: Visit the Debian Linux official website and download the Debian Linux 12 ISO file. Make sure to download the correct version (64-bit) for your MacBook Pro.
- Create a Bootable USB Drive: Use a program like Rufus or Etcher to create a bootable USB drive with the Debian Linux 12 ISO file. This process will erase all data on the USB drive, so make sure to backup any important files before you proceed.
- Insert the USB Drive into Your MacBook: Insert the bootable USB drive into one of the USB ports on your MacBook Pro.
- Boot from the USB Drive: Turn on your MacBook and immediately hold down the Option (Alt) key until you see the boot selection screen. Choose the USB drive.
- Install Debian Linux 12: Follow the on-screen instructions to install Debian Linux 12. You will need to choose your language, location, and keyboard layout. You will also need to partition your new SSD for Debian. If you’re not sure how to do this, choose the Guided – use entire disk option.
- Finish the Installation: Once the installation is complete, installer will ask you to remove the USB drive and restart your MacBook. You should now boot into Debian Linux 12.
By following the above steps, you should be able to upgrade SSD and Install Debian 12 on MacBook Pro Late 2012
Note:
This guide assumes that you are comfortable with opening your MacBook and potentially voiding any warranties. Always take care when handling internal components. If you’re not comfortable with this, consider seeking professional help.
🔧 If you’re comfortable with a bit of DIY, this is a great way to breathe new life into an older MacBook. Just remember, always handle internal components with care.

Image of MacBook Pro created using AI Imaging
Parting Thoughts
Installation and use of Debian on MacBook Pro is well-documented and supported, it’s less user-friendly than macOS, especially for those not familiar with Linux. The latter is a matter of personal choice and preference, and therefore, I use the word “upgrade” to operating system with a grain of salt. In this post, we learnt the basic steps of how to Upgrade SSD and Install Debian 12 on MacBook Pro Late 2012.
Other Posts about Linux and MacBook Pro Retina
a. ZorinOS versus Ubuntu Mate on MacBook Pro Late 2012 Retina
b. How Linux Revived my 2012 Macbook Pro Retina
c. Linux on MacBook Pro 2012- Browser and CPU issues
d. Installing Linux on Macbook Pro 2015
You might also want to read the related blog post “Does Upgrading Old Computers Really Help The Planet?“
Logo for Debian created using AI Imaging
This post on how to upgrade SSN and install Debian12 on Macbook Pro was published as a part of series of posts on Computer upgrades. For more posts in this category, please visit this link.