I thought of writing this short post as a Guide to Acoustical Foam Cleaning, for a reason. Living in Bengaluru, just a stone’s throw from a busy highway, I’ve learned a thing or two about keeping acoustic foam clean. Trust me, it’s not just about maintaining sound quality – it’s about surviving the dust apocalypse!
धूल से आपका एकाउस्टिक फोम गंदा हो जाता है? चिंता मत कीजिए! वेल्क्रो जुगाड़ से लेकर पीवीसी पाइप तक, फोम को आसानी से हटाने और साफ करने के तरीके जानें। ट्रैफिक प्रदूषण या निर्माण धूल से लड़ रहे हैं? ये विधियां आपके स्टूडियो को ताजा रखेंगी। वॉलपेपर वाली दीवारों पर भी काम करती हैं! अपने एकाउस्टिक गेम को बेंगलुरु स्टाइल में अपग्रेड करें।
Ever feel like your acoustic foam is doubling as a personal dust collector? Well, my fellow sound enthusiasts, it’s time to outsmart our dusty nemesis!In this guide, we’re diving into the art of keeping your acoustic foam clean without turning your studio into a construction zone every other month.
Introduction
Tired of dusty acoustic foam in your audio recording studio? We’ve got you covered! From Velcro jugaad to PVC pipe innovation, learn how to install foam for easy removal and cleaning. Whether you’re battling traffic pollution or construction dust, these methods will keep your studio fresh. Bonus: they work great with wallpapered walls too! Get ready to upgrade your acoustic game.
Why Bother Cleaning the acoustical foam?
Let’s face it, Bengaluru’s summer months are no joke. The heat turns everything into a dust magnet, and our beloved acoustic foam is no exception. Add in the lovely cocktail of pollutants from our 24/7 traffic jams and the ever-present construction sites, and you’ve got yourself a recipe for foam disaster.
Regular cleaning isn’t just about being a neat freak – it’s about:
- Keeping your recording space from turning into a dust bowl
- Preventing your foam from becoming a five-star hotel for fungi

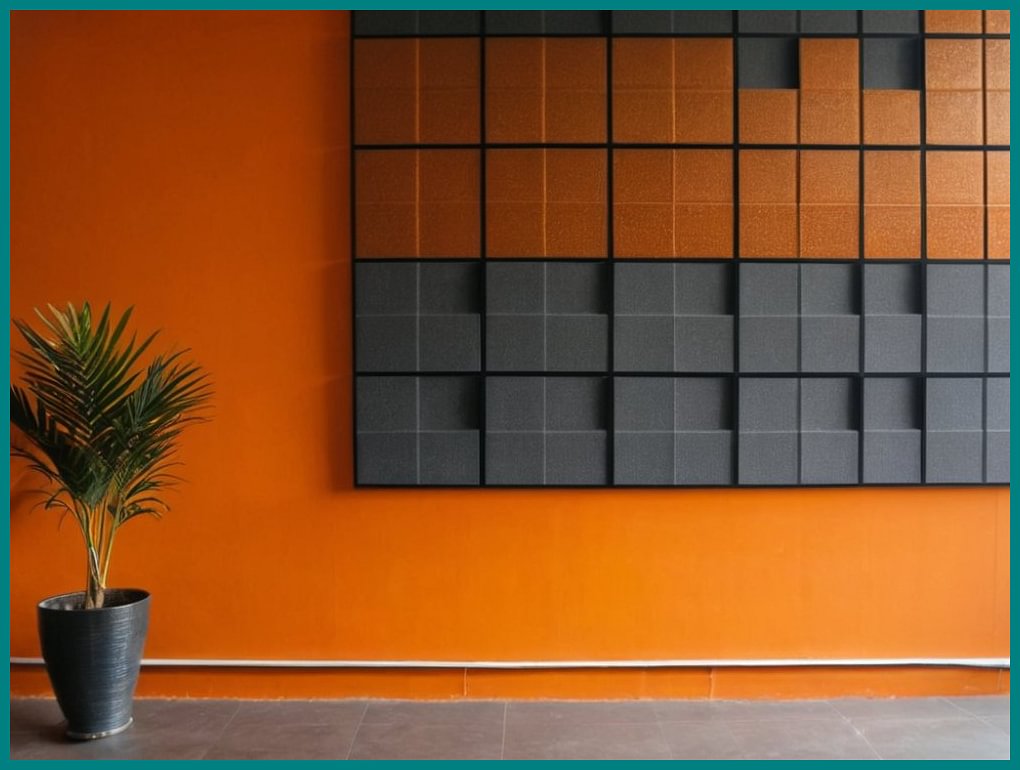
Studio with acoustical foam
The Cleaning Game Plan
Before we dive in, a word to the wise: Always check the manufacturer’s instructions. If they say “don’t wash,” then don’t. Simple, right?
- Step 1: Gentle Dusting Start with a good ol’ vacuum cleaner. Use the soft brush attachment – we’re not trying to give the foam a deep tissue massage here.
- Step 2: The Soap Opera Now, forget about those fancy foreign brands. We’re going desi all the way:
Mix a teaspoon of Patanjali’s Herbal Washing Powder or Rustic Art’s Organic Laundry Liquid in a bucket of room temperature water.
Dunk your foam in this magical concoction and let it soak for about 30 minutes. Think of it as a spa day for your foam.
- Step 3: Rinse and Squeeze Rinse the foam gently with clean water. Remember, we’re not trying to wring out confessions here – be gentle!
- Step 4: The Drying Game This is where patience comes in handy (something we Bengaluru folks have mastered in traffic):
Squeeze out excess water gently. No twisting or wringing!
Lay it flat on a clean towel, preferably not the one you use for your morning puja.
Use a fan to speed up drying. No, not your hand fan from the last power cut – an electric one!
Pro Tips:
- Clean your foam every 3-4 months. Think of it as a quarterly business review, but for your studio.
- If you spot any mold, it’s time to say goodbye. Don’t be sentimental – your lungs will thank you.
- Consider using an air purifier in your studio. It’s like a bouncer for air pollutants.
Remember, your foam clean, and may your recordings be as crisp as a fresh dosa!
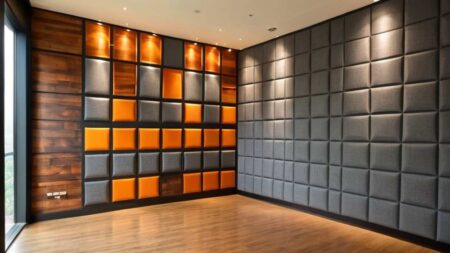
Reinstalling the acoustical foam
The practicality of frequent removal and reinstallation of acoustic foam, especially with wallpaper on the walls, needs ot be considered before we apply the above solution. Let’s explore some alternatives that are more suitable for your situation in Bengaluru.
Velcro: The Jugaad Solution
Velcro is indeed a popular option for removable acoustic foam installation. It’s like the ultimate jugaad for our desi DIY needs! Here’s how you can use it:
- Use industrial-strength adhesive-backed Velcro strips.
- Attach one side to the back of the foam panels.
- Stick the other side to your wallpaper (test in an inconspicuous area first to ensure it doesn’t damage the wallpaper).
Pro tip: Cut the Velcro into smaller pieces and distribute them across the foam panel for better weight distribution.
Wooden Frame: The Classy Approach
A wooden frame is another excellent option, especially if you’re going for that swanky studio look:
- Build a lightweight wooden frame slightly larger than your foam panels.
- Attach the foam to the frame using a staple gun or pins.
- Cover the frame with fabric for a polished look (optional).
- Hang the frame on the wall like a painting.
Bonus: This method allows for easy removal and even lets you rearrange your studio setup when you’re feeling creative (or when your spouse insists on “changing things up”).
Double Sided tape: The Renter’s Best Friend
If you’re renting or just don’t want to commit to anything too permanent, double sided tape is your new best friend:
- Use large tape designed for hanging pictures.
- Attach them to the back of your foam panels.
- Follow the instructions to stick them to your wallpaper.
Remember: These have a weight limit, so check the packaging and use multiple strips if needed.

The Bengaluru Special: PVC Pipe Frame
Here’s a quirky, cost-effective solution that screams “Indian innovation”:
- Create a lightweight frame using PVC pipes (easily available at your local hardware store).
- Attach the foam to the frame using zip ties or string.
- Lean the frame against the wall or use small hooks to hang it.
Fun fact: This method also provides a bit of an air gap behind the foam, which can enhance its acoustic properties. It’s like getting extra performance without paying for it – very Bengaluru, indeed!
Final Thoughts on this Guide to Acoustical Foam Cleaning
Whichever method you choose, remember that our Bengaluru humidity can be tricky. Ensure proper ventilation in your studio to prevent any moisture-related issues with your foam or wallpaper.
You can read more posts about my podcasting journey by following this link